Installing WordPress on localhost provides a fantastic way to experiment, build your website, and learn How to install WordPress on localhost before launching it live on the internet.
What is Localhost?
In Simple words, localhost refers to your own computer. Think of it as a virtual space where you can test and develop websites before making them publicly accessible. Installing WordPress on localhost allows you to create a website environment on your machine, enabling you to:
- Test themes and plugins: Experiment with different themes and plugins without affecting a live website.
- Develop your website offline: Work on your website even without an internet connection.
- Learn WordPress in a safe space: Practice building your website without worrying about breaking anything.
Benefits of Installing WordPress on Localhost
Here’s a quick breakdown of the advantages of using a localhost environment for WordPress development:
| Benefit | Description |
| Safe Experimentation: | Test new features and functionalities without affecting a live website. |
| Offline Development: | Continue working on your website even without an internet connection. |
| Cost-Effective: | No web hosting fees required until you’re ready to launch your website publicly. |
| Learning Platform: | A perfect environment to learn WordPress and website development. |
How to install WordPress on localhost:
Before we start the installation process, ensure you have the following:
- A computer: A Windows PC, Mac, or Linux machine will work.
- Software: We’ll be using a software package called XAMPP to create our localhost environment.
What is XAMPP?
XAMPP (pronounced “Apache-AMP”) is a free and open-source cross-platform web server solution. It bundles essential components like Apache (the web server), MySQL (the database), PHP (the scripting language), and Perl into a single, easy-to-use package.
Installing XAMPP
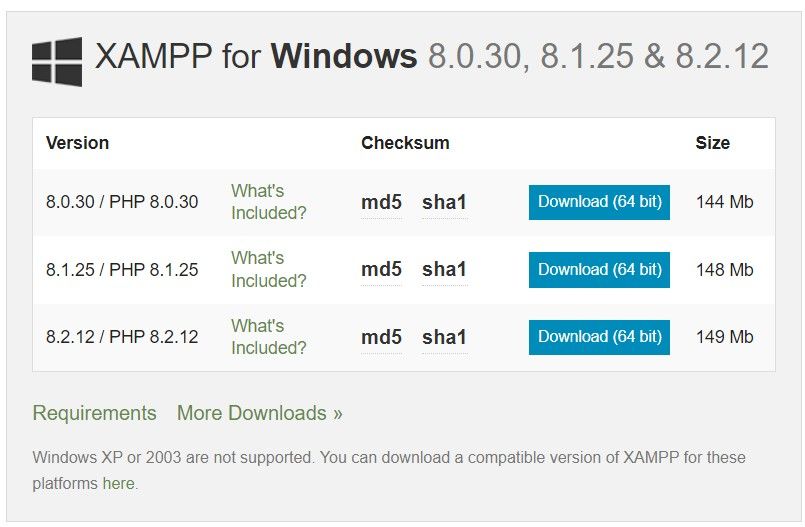
- Download XAMPP: Head over to the official XAMPP website (https://www.apachefriends.org/download.html) and download the appropriate installer for your operating system (Windows, Mac, or Linux).
- Run the Installer: Once downloaded, locate the installer file and run it. Follow the on-screen instructions to complete the installation process. It’s generally recommended to keep the default installation settings unless you have specific requirements.
- Start the Apache and MySQL Modules: After successful installation, open the XAMPP Control Panel. Locate the “Apache” and “MySQL” modules and click the “Start” buttons next to them. You should see these services turn green, indicating they’re running.
Creating a Database for WordPress
WordPress requires a database to store its content, settings, and user information. Here’s how to create one using phpMyAdmin, a tool included with XAMPP:
![]()
- Access phpMyAdmin: In your web browser, navigate to the following URL (replace “localhost” with your computer’s name if necessary):
http://localhost/phpmyadmin - Create a Database: Click on the “New” tab and enter a name for your WordPress database (e.g., “my_wordpress_database”). Choose “Collation” as “utf8_general_ci” and click “Create” to establish the database.
Downloading WordPress
- Visit WordPress.org: Head over to the official WordPress website (https://wordpress.org/download/) and download the latest version of the WordPress software.
- Extract the Files: Extract the downloaded zip file. You’ll get a folder containing all the WordPress core files.

Moving WordPress Files to Localhost
Now, we need to move the extracted WordPress files to a location accessible by XAMPP’s web server:
- Locate the htdocs Folder: Open the XAMPP installation directory. Inside you’ll find a folder named “htdocs” (or “xampp/htdocs” on Mac/Linux). This is the document root directory where web server files reside.
- Upload WordPress Files: Open the extracted WordPress folder and copy all its contents. Paste them into the XAMPP “htdocs” folder.
Running the WordPress Installation
- Open your web browser: In your web browser’s address bar, type
http://localhost/your_folder/(replace “your_folder” with the actual name of the folder you uploaded to htdocs). This will initiate the WordPress installation process
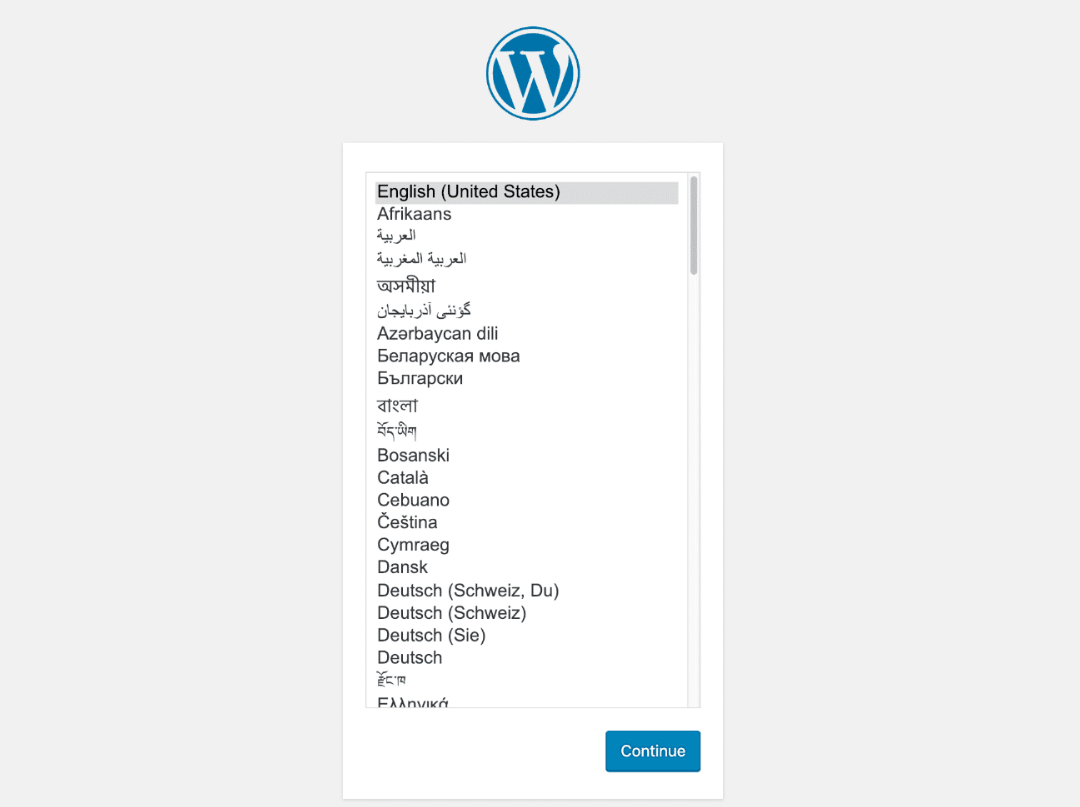
- Complete the steps as guided by the installation Screen, and you can start using the WordPress on your local host with ease.
Hope this document added value:
Read more tech Stuff on Softech Online
Watch Video Content on YouTube