As technology continues to shape our lives, it’s crucial that we create digital spaces that are accessible to everyone, including individuals with disabilities. Knowing How to Make Your Website ADA Compliant, not only ensures inclusivity but also helps you avoid legal issues and enhances your brand reputation. In this guide, we’ll walk you through the steps to achieve ADA compliance for your website or blog.
What Is ADA Compliance?
The Americans with Disabilities Act (ADA) was enacted in 1990 to protect the rights of individuals with disabilities. While initially focused on physical accommodations, the ADA now extends to the digital realm. An ADA-compliant website ensures that people with disabilities can access and interact with your content effectively.
Why Is ADA Compliance Necessary?
- Legal Requirements:
- Title I and Title III of the ADA mandate that businesses with more than 15 employees (for at least 20 weeks a year) and those with public accommodations must be ADA compliant.
- Non-compliance can result in fines and lawsuits, damaging your brand reputation.
- Ethical Responsibility:
- Even if your business isn’t legally required to comply, making your website accessible is the right thing to do.
- It demonstrates empathy and inclusivity, fostering positive relationships with your audience.
A checklist on How to Make Your Website ADA Compliant:
- Use standard HTML tags
- Provide documents in text-based format
- Add alt text to images
- Use clear calls-to-action
- Use ADA-compliant graphics
- Add text and audio descriptions
- Add captions that can be heard or read
- Use color contrast in text
- Use text cues when using color in text
- Use text alternatives (“alt text”) in images
- Use video captions
- Use online forms
- Use text size and zoom capability
- Use sans serif fonts
- Limit the number of fonts you use
- Use at least size 12 font
- Make sure users can tab through menus, buttons, and all other navigational elements
- Avoid graphics that flash for more than three seconds
How to Check Your Website’s ADA Compliance
Before diving into the steps, assess your website’s current accessibility:
- Free Checker Tools:
- Use online tools to evaluate your website’s accessibility.
- Some popular options include WAVE, axe, and Lighthouse.
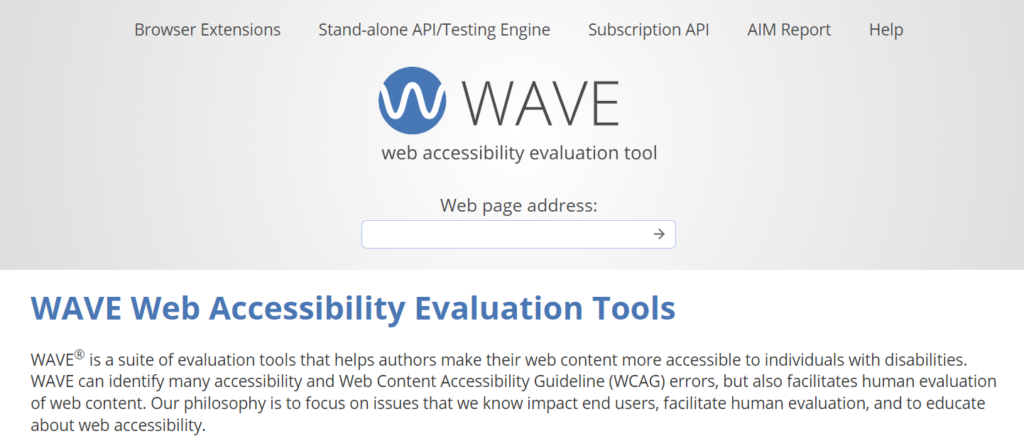
WAVE:

- WAVE is a powerful web accessibility evaluation tool that checks your website for compliance with accessibility guidelines.
- Features:
- Provides detailed reports on accessibility issues.
- Highlights problematic elements, such as missing alt text, improper heading structure, and color contrast violations.
- Offers a browser extension for real-time evaluation while browsing your site.
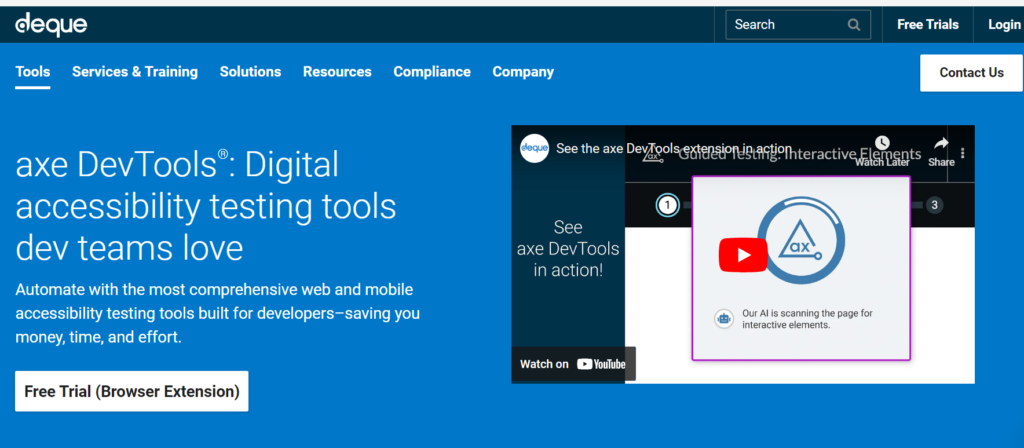
axe:
- axe is an open-source accessibility testing tool developed by Deque Systems.
- Features:
- Integrates seamlessly with popular browsers and development tools.
- Identifies accessibility issues and provides actionable recommendations.
- Supports automated testing and manual inspection.
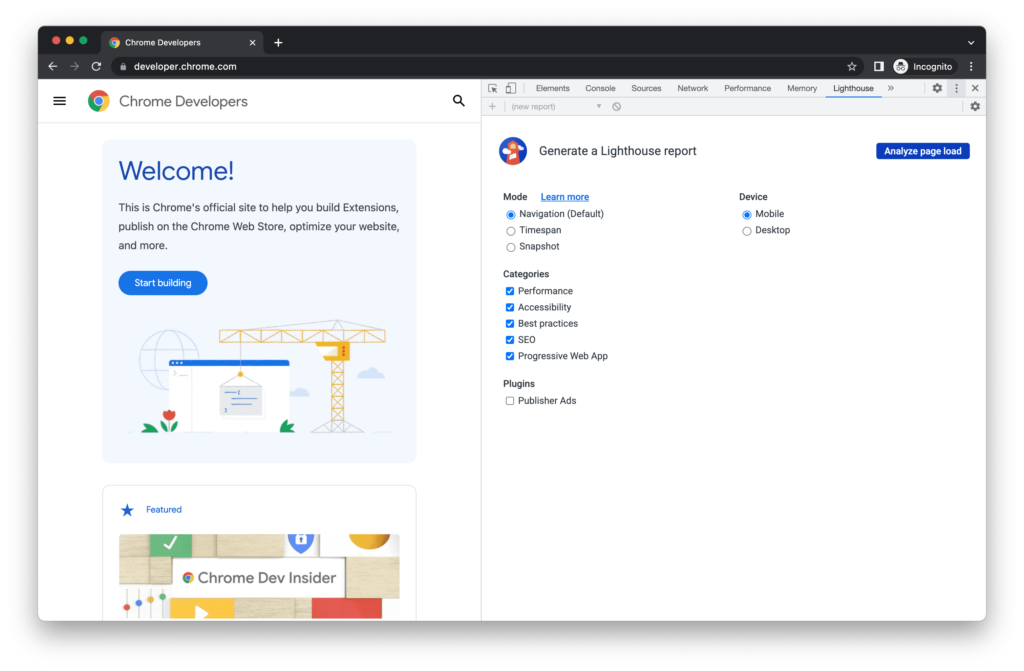
Lighthouse:
- Lighthouse is a built-in tool in Google Chrome’s DevTools.
- Features:
- Evaluates web pages for performance, accessibility, best practices, and SEO.
- Generates comprehensive reports with actionable insights.
- Helps you optimize your website for better user experiences.
Steps to Make Your Website ADA Compliant
- Alt Text for Images:
- Provide descriptive alternative text (alt text) for images.
- Alt text ensures that screen readers convey the image’s content to visually impaired users.
- Semantic HTML:
- Use proper HTML tags (e.g., headings, lists, tables) to structure your content.
- Semantic markup improves navigation and readability.
- Keyboard Navigation:
- Ensure all interactive elements (buttons, forms) are keyboard accessible.
- Users should navigate your site without a mouse.
- Color Contrast:
- Maintain sufficient color contrast between text and background.
- Use tools like Color Contrast Analyzer to check contrast ratios.
- Video and Audio Content:
- Provide captions and transcripts for videos and audio files.
- Ensure multimedia content is accessible to all users.
- Forms and Inputs:
- Label form fields clearly.
- Use placeholders as additional context, not a replacement for labels.
- Responsive Design:
- Ensure your website works well on various devices and screen sizes.
- Test responsiveness during development.
- Accessible Links and Buttons:
- Use descriptive link text (avoid “click here”).
- Buttons should have clear labels (e.g., “Submit,” “Learn More”).
- Focus Styles:
- Highlight focused elements (e.g., links, buttons) with visible outlines.
- Users with keyboard navigation rely on focus indicators.
- Testing and Auditing:
- Regularly audit your website for accessibility.
- Consider hiring an accessibility consultant or using automated tools.
Conclusion
ADA compliance isn’t just about ticking boxes; it’s about creating an inclusive digital environment. By following these steps, you’ll make your website accessible to all users, regardless of their abilities. Remember, accessibility benefits everyone, so let’s build a web that leaves no one behind.
References:
- WAVE Web Accessibility Evaluation Tool
- Deque axe: Automated Accessibility Testing
- Google Lighthouse: An open-source, automated tool for improving the quality of web pages