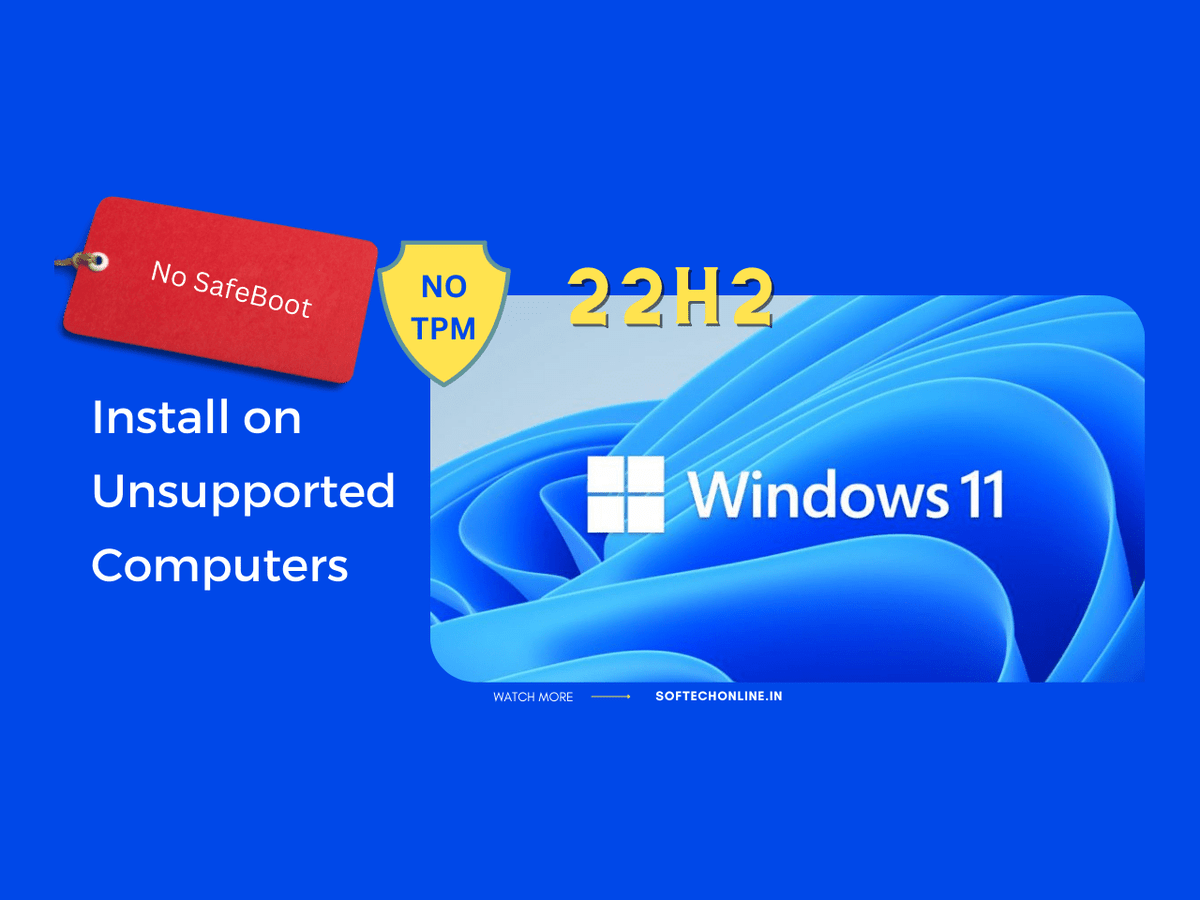
Installing windows 11 on unsupported hardware
This document will guide you in Installing windows 11 on unsupported hardware with step by step process.
If you have an old computer with unsupported hardware for windows11, you can still upgrade to Windows 11 with a bootable USB flash drive with a clean manual installation.
Microsoft left an open loophole that doesn’t mention it on any of the documentation. Anyone can install windows 11 at their own risk. There is no guarantee of system stability and driver compatibility.
This guide will help you to install Windows 11 (21H2 / 22H2) on a computer with non-compatible hardware. As the device is officially unsupported they should take the risks and understand that stability, compatibility, and updates are not guaranteed.
Step by Step Procedure for Installing windows 11 on unsupported hardware.
- Download the original ISO file from the Microsoft official site and prepare the USB bootable media.
Please check this link (https://youtu.be/8swojPVUBUs )if you wish to know how to download and make windows 11 bootable USB Media.
Go to system BIOS settings and make the 1st bootable device to USB (most of the system will have “press F12 key to select bootable device” while starting)
- Start the PC with the Windows 11 USB Media and Windows11 installation will just start.
- Press the Shift + F10 keyboard to open Command Prompt window.
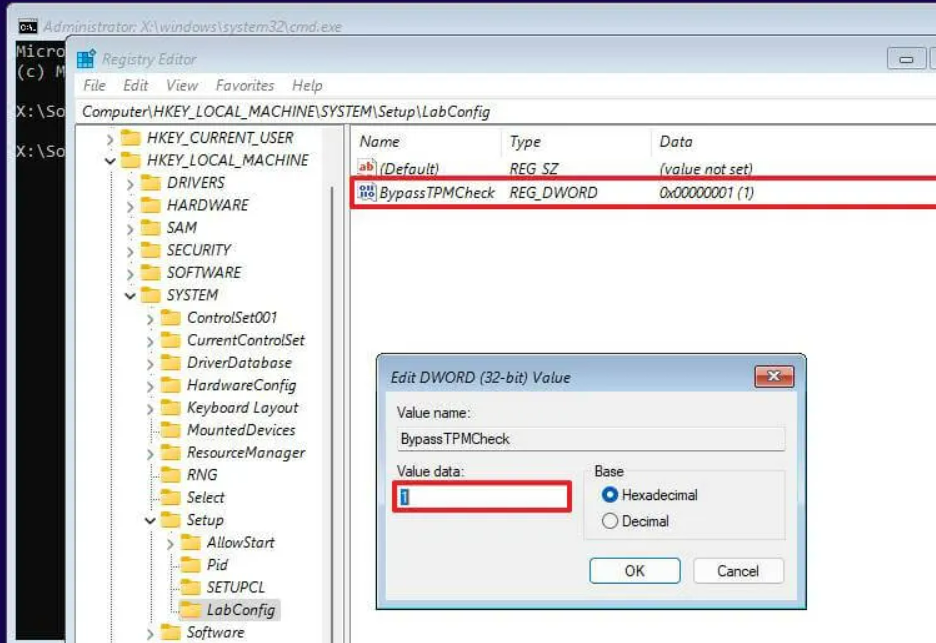
- Enter “Regedit“ on Command Prompt.

Regedit Window - Go to the path: HKEY_LOCAL_MACHINE\SYSTEM\Setup
- Right-click the Setup folder, Click New, and then on the Key option.
Registry Key - Enter the Key Name as “LabConfig”.
- Right-click the LabConfig folder, select New, and then the DWORD (32-bit) Value option.
- Name the key BypassTPMCheck and press Enter.
- Double-click the newly created “BypassTPMCheck” key and change its value to 1.
Registry Key1 - Click the OK button.
- Right-click the LabConfig folder again and select New, and then the DWORD (32-bit) Value option.
- Enter the Key Name as BypassSecureBootCheck and press Enter.
- Double-click the newly created BypassSecureBootCheck key and change its value to 1.
- Click the OK button.
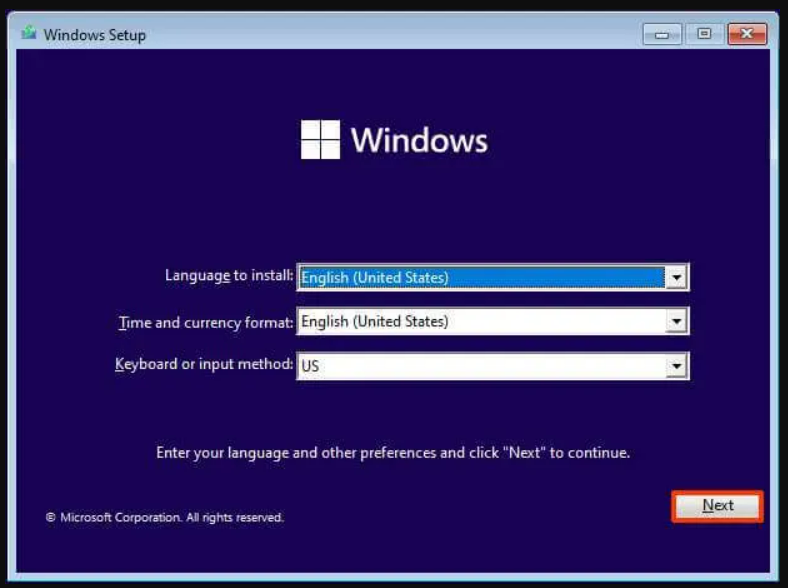
- Now you can exit from Regedit windows and Click the Next button on the setup window.
Setup Window 11 - And start the installation process as guided by the setup windows.
- You will not get any errors during the entire installation process. Hope you find this document useful.
- Read More articles like this at https://softechonline.in/
- You may subscribe to our YT channel for such tricks and tips related to Computers and Mobiles.https://www.youtube.com/c/softechonline/featured


5